Apollo NZ GlobalStart Smart Quote

Apollo NZ Global × XclusiveDecor · customer cooking guide

Wood-fired oven cooking, from the first curing fire to pizza, roasting and retained heat.

A practical owner pathway for first-time wood-fired oven users. The guide covers staged curing, firewood and fire management, useful cooking-temperature ranges, pizza technique, cooking beyond pizza, shutdown, cleaning and troubleshooting. Instructions supplied with the exact oven model always take priority.

Staged curing guidance300–350°C high-heat starting rangePizza · roasting · baking · slow cookingFree customer PDF
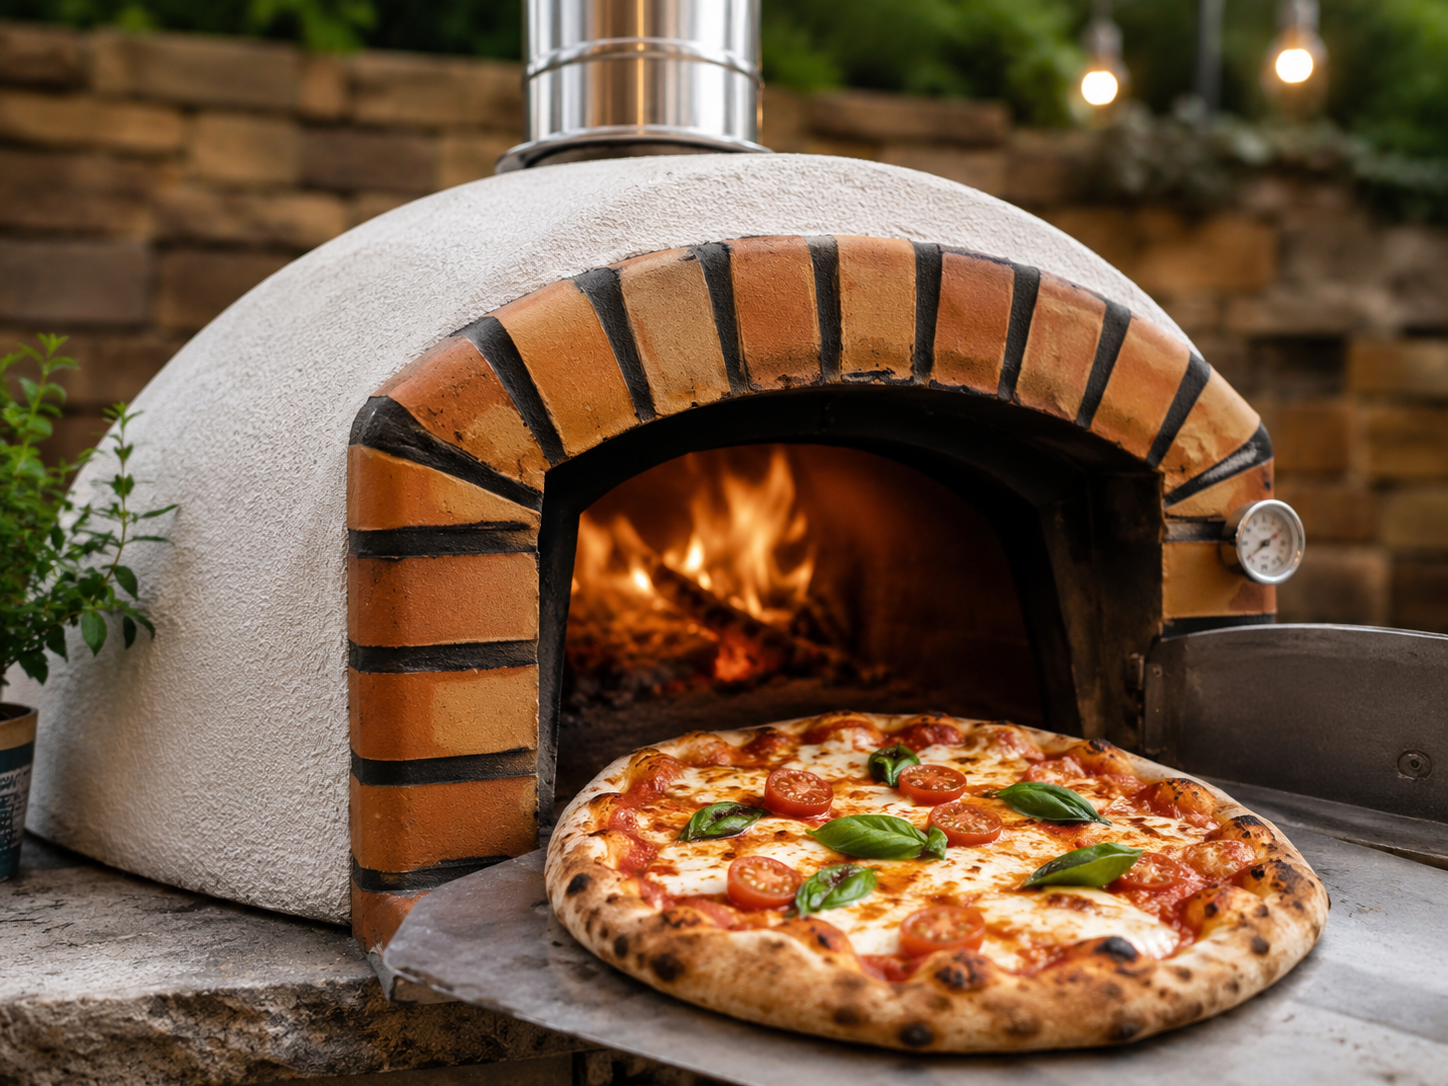
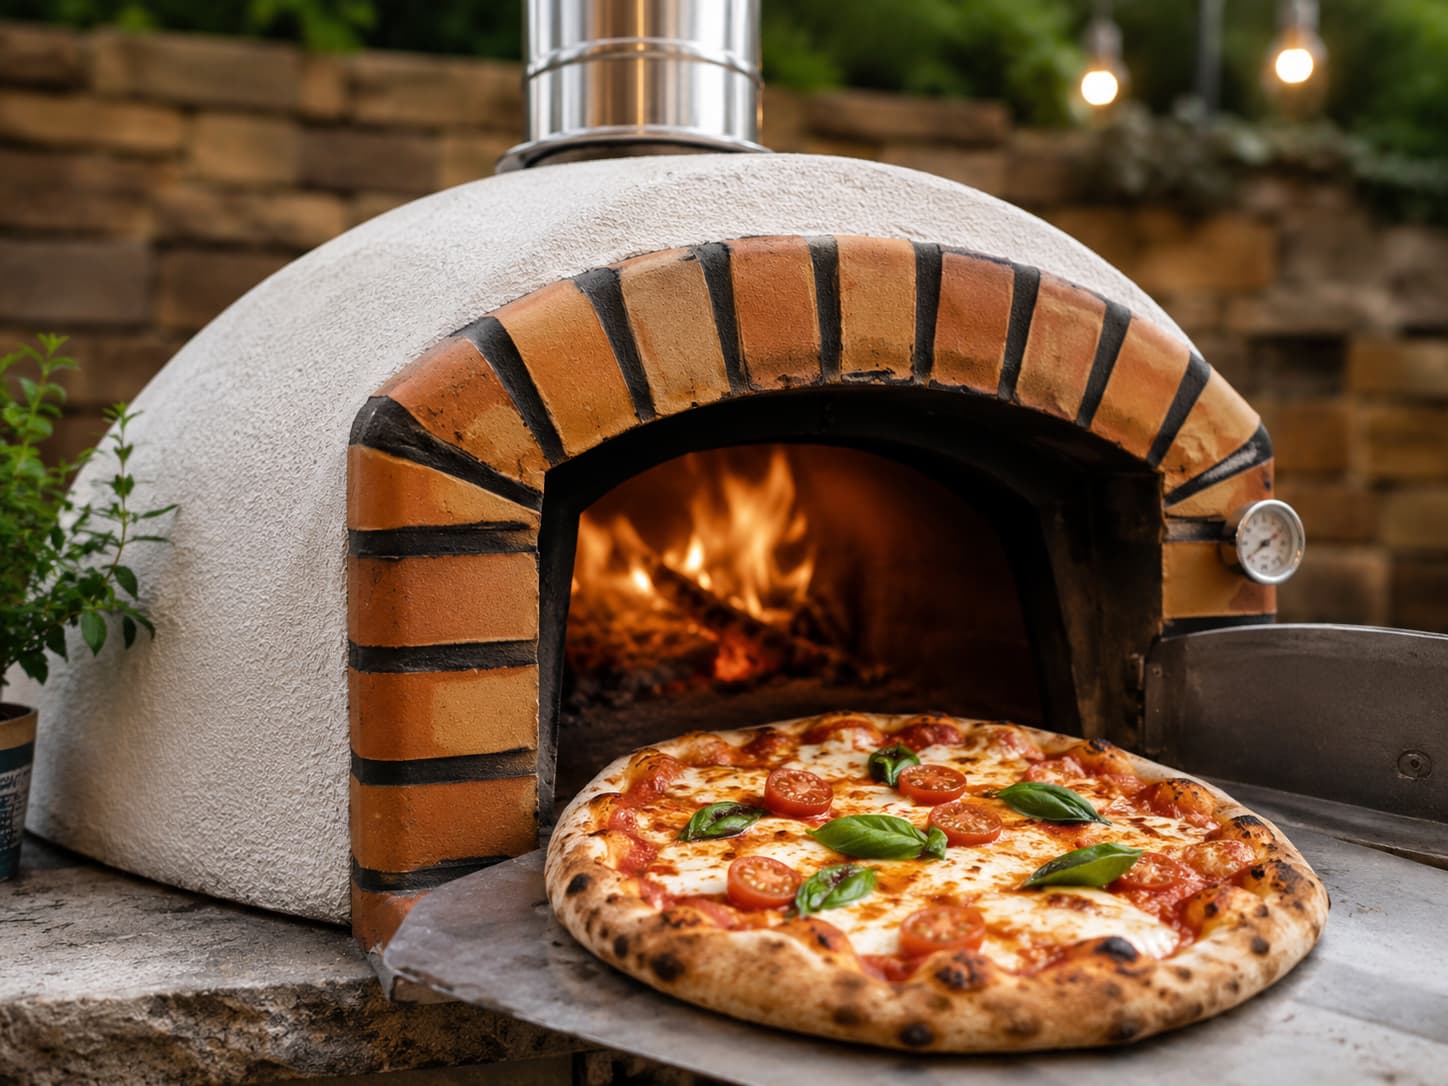
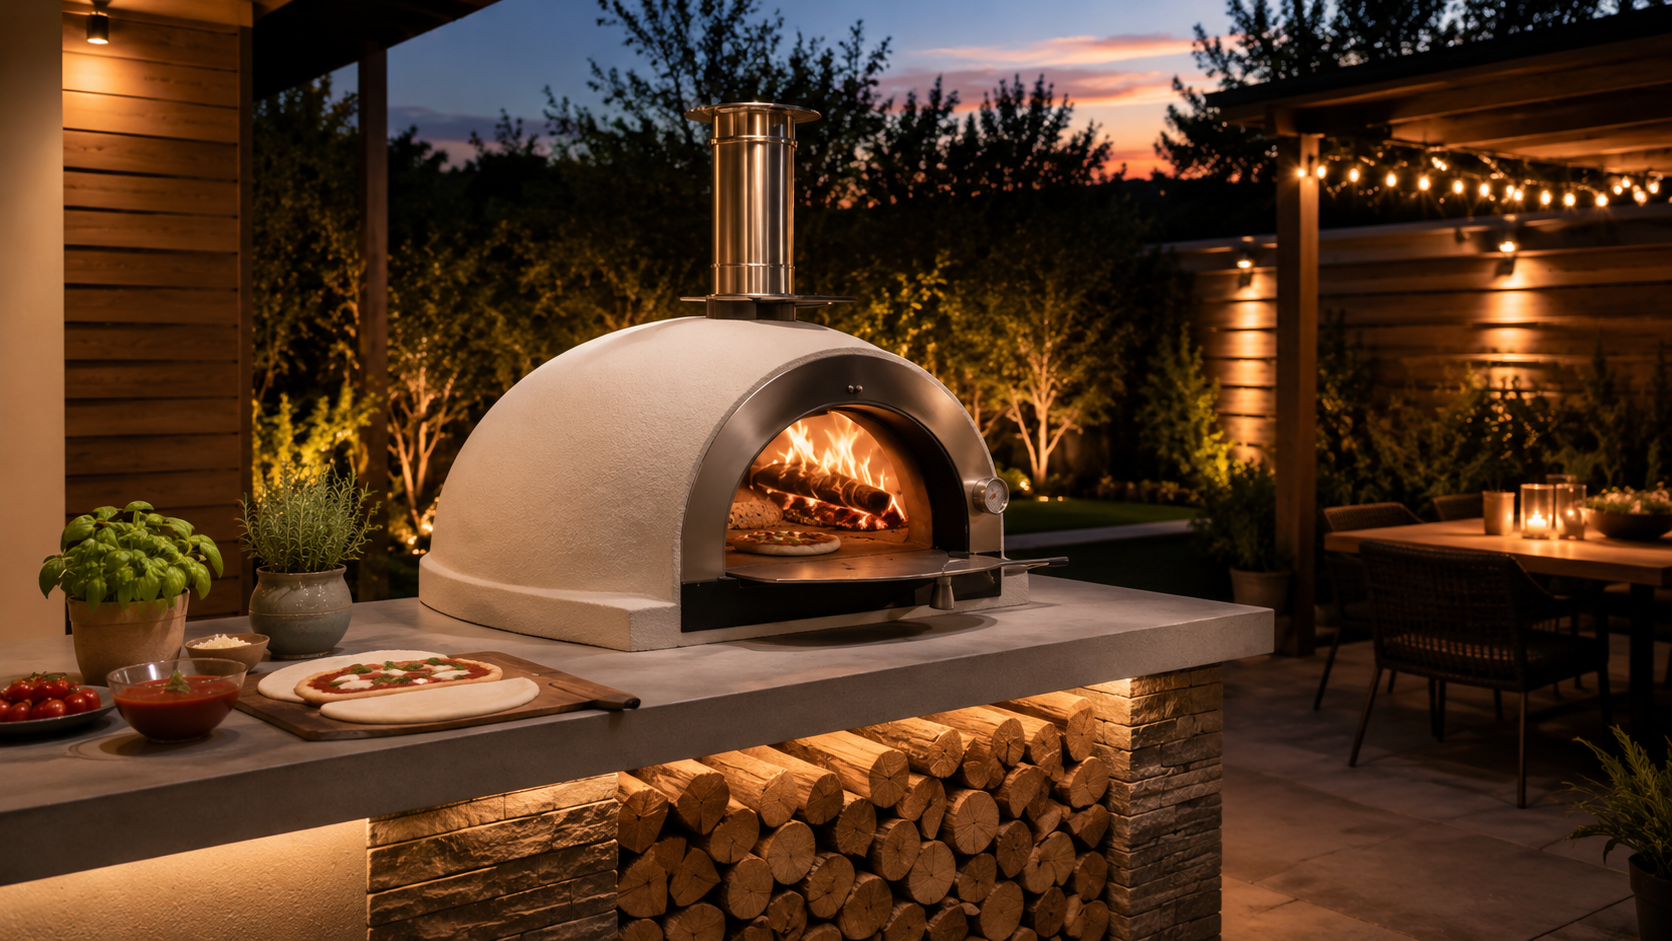
Wood-fired refractory pizza oven with a pizza at the oven mouthWood-fired oven lifestyle view · always follow the instructions for the selected oven model.

Technical overview

A practical first-cook reference

These are starting points from the Apollo NZ × XclusiveDecor customer guide, not substitutes for model-specific installation, curing, operating or safety instructions.

01New-oven curing · Day 1
About 100°C · 6–8 hoursMaintain a very small fire, then allow the oven to cool completely.
02New-oven curing · Day 2
About 175°C · 6–8 hoursRepeat with a slightly larger fire, then cool completely.
03New-oven curing · Day 3
About 250°C · 6–8 hoursStay below the target and avoid over-firing. Model instructions take priority.
04Firewood
Clean · dry · untreatedUse small dry kindling, suitable solid fire starters and split logs added gradually. Never burn treated timber, plywood, plastic, rubbish or driftwood.
05High heat
300–350°CSmall active flame · pizza, flatbread and naan-style bread.
06Hot roasting
220–300°CReduced live fire · quick vegetables, fish and searing.
07Roasting
160–220°CSmall fire or embers · chicken, lamb, potatoes and cast-iron dishes.
08Baking
180–230°CFalling heat · bread, focaccia and baked pasta.
09Slow cooking
120–170°CRetained heat · casseroles, slow roasts and desserts.
10Published temperature note
Maximum cooking temperature 500°CThe customer guide states that XclusiveDecor recommends pizza cooking at no more than 350°C.
11Essential tools
Long peel · turning peel · IR thermometer · probe thermometerAlso plan heat-resistant gloves and metal ash tools for cold ash.
12Critical care rule
Never shock-cool with waterAllow the fire and embers to burn down naturally and remove ash only when fully cold.

Local fire restrictions, safe clearances, installation requirements and food-safety responsibilities still apply. The selected oven's instructions and current project documentation take priority over this general customer guide.

Wood-fired pizza oven Cooking 101 visual guide

Cooking 101

Build the fire, understand the heat, then use the whole heat cycle.

The oven is more than a pizza maker. Once the fire and stored heat are understood, one firing can move from pizza and flatbread into roasting, bread, cast-iron dishes and lower-temperature retained-heat cooking.

Wood-fired cooking lifestyle

From dough preparation to pizza service and retained-heat cooking.

Lifestyle imagery illustrates the cooking experience and outdoor-kitchen context. Exact oven model, finish, door, thermometer, flue and installation details vary by selected product.

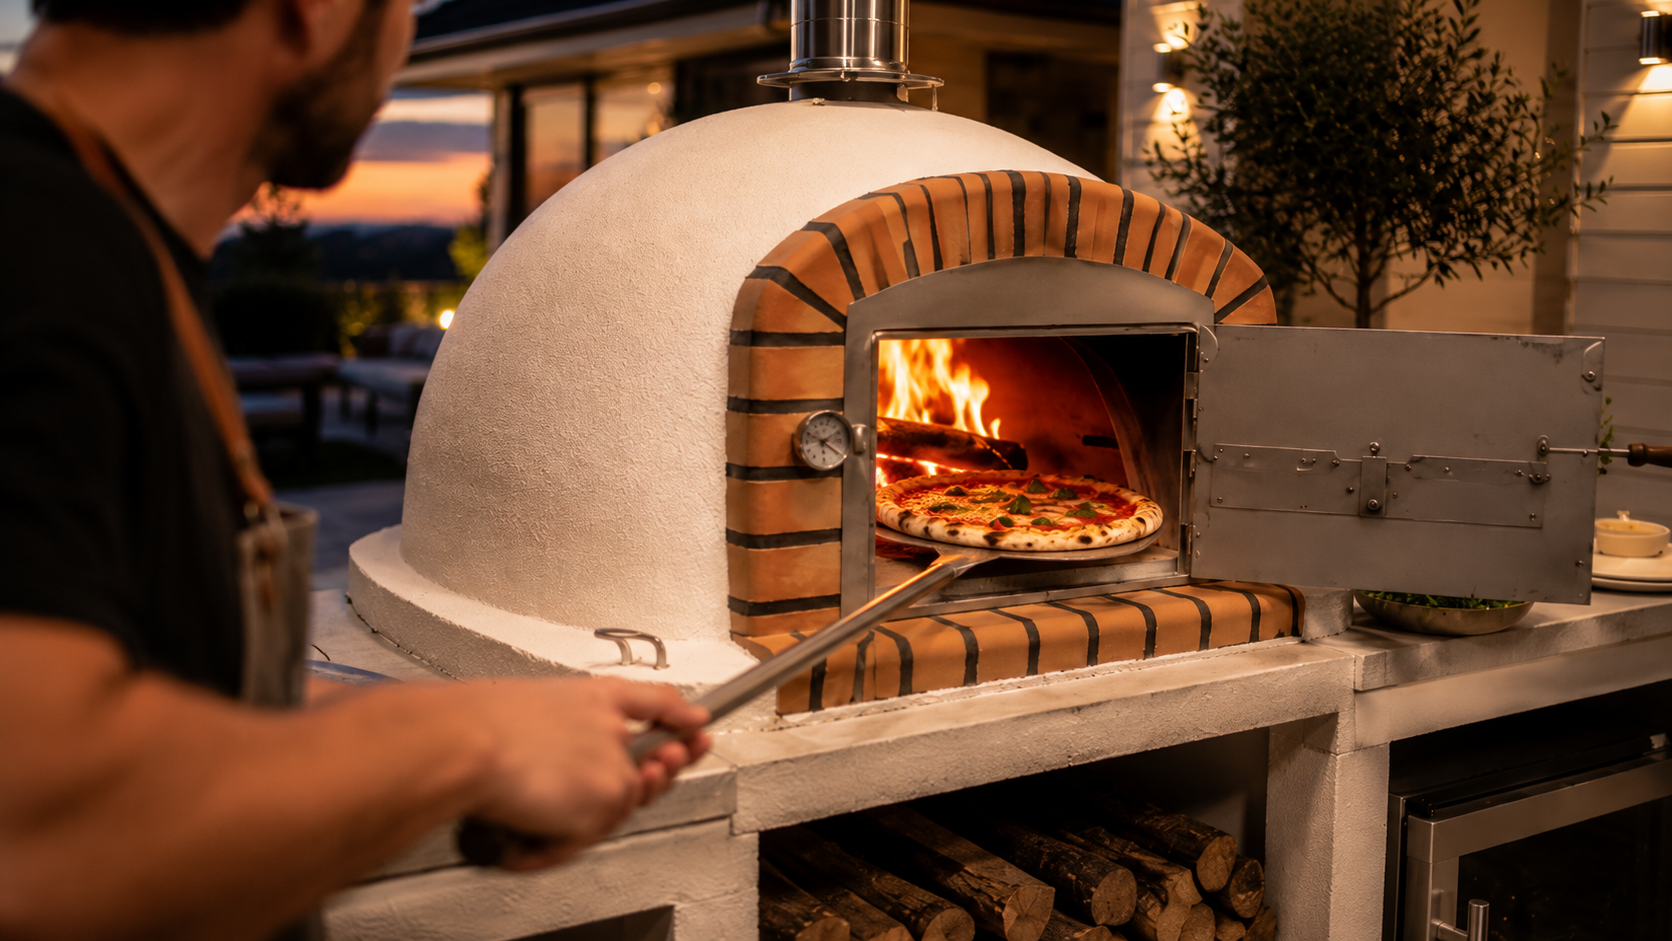
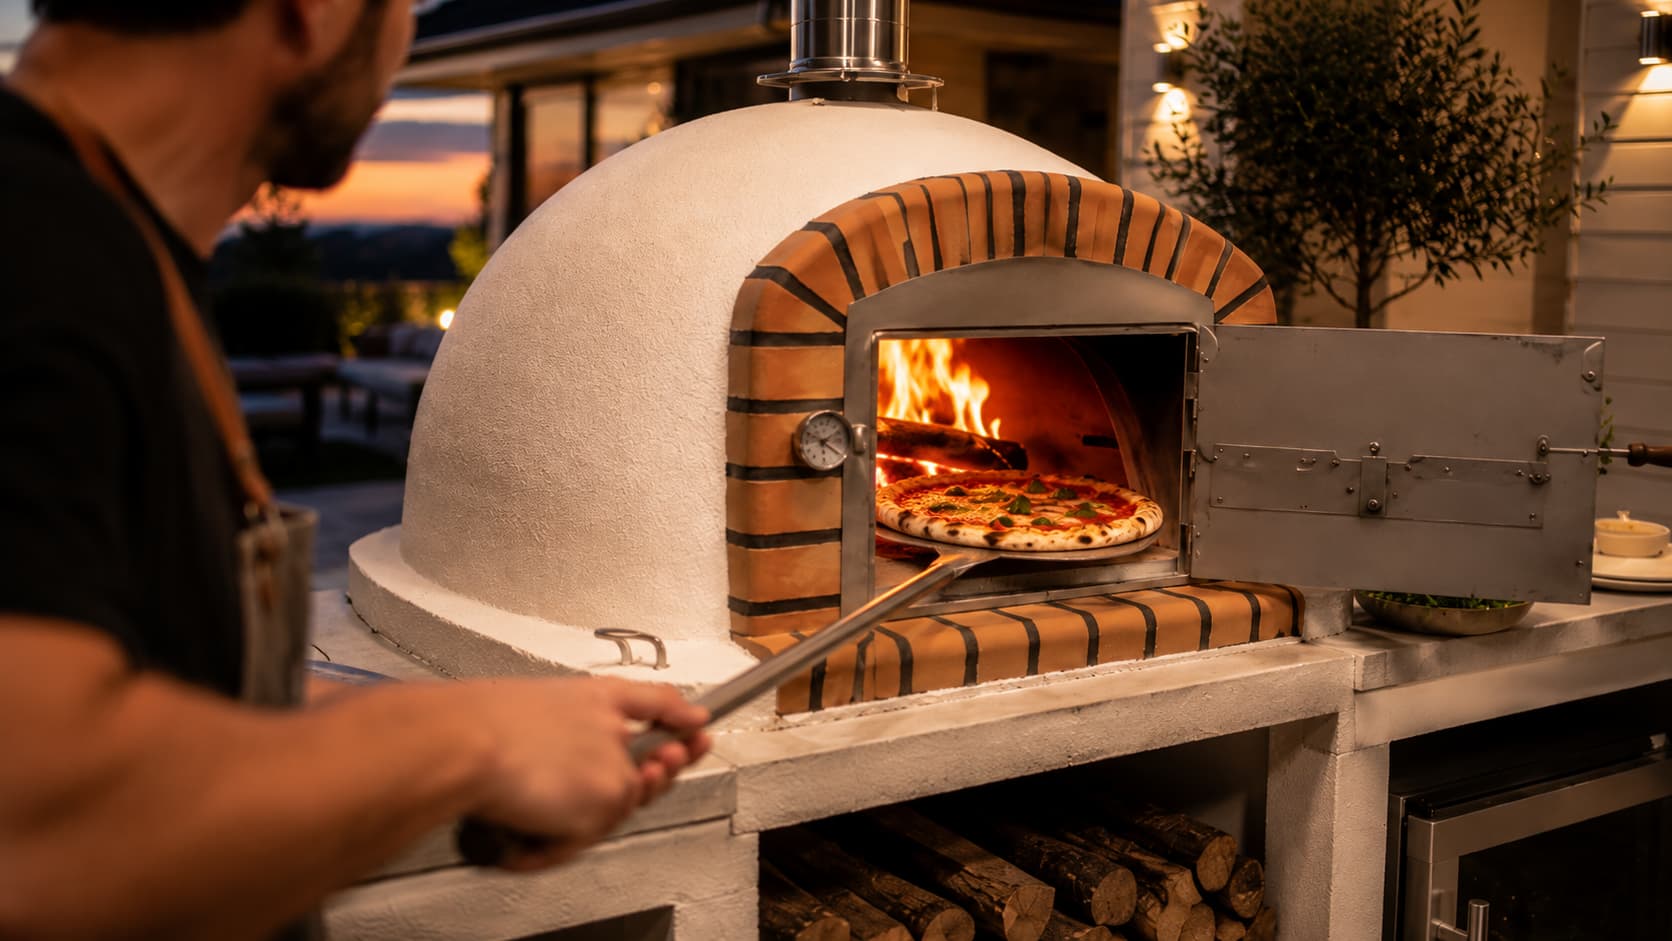
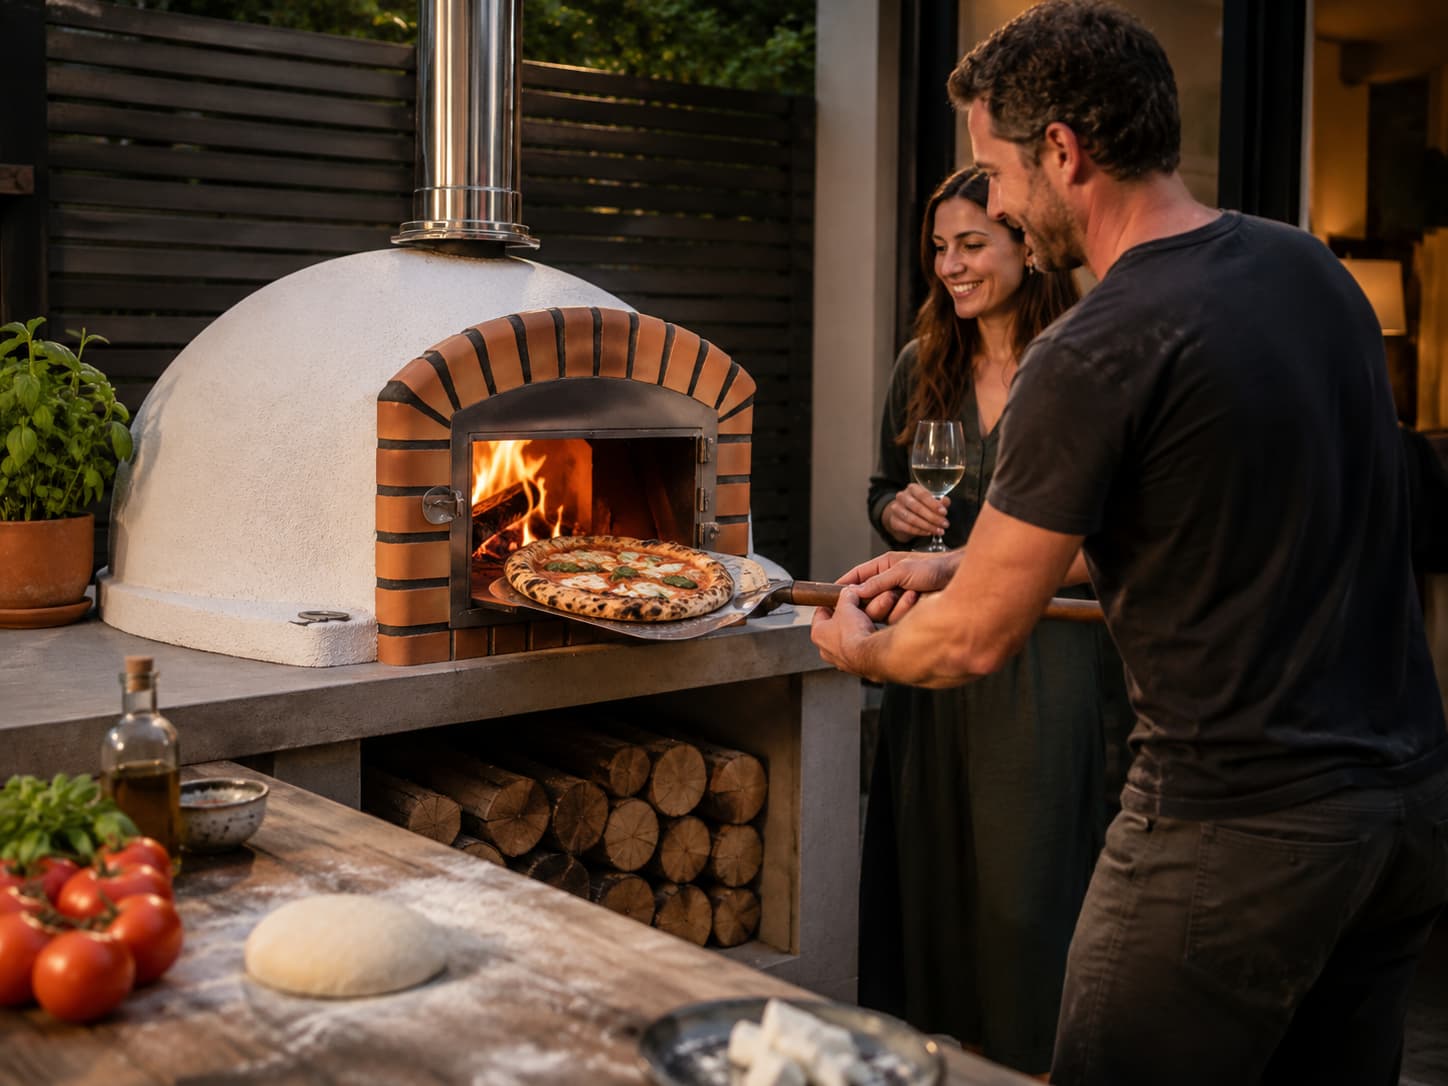
Wood-fired oven with pizza being cooked using a long peel
Pizza service · keep the workstation ready before launching
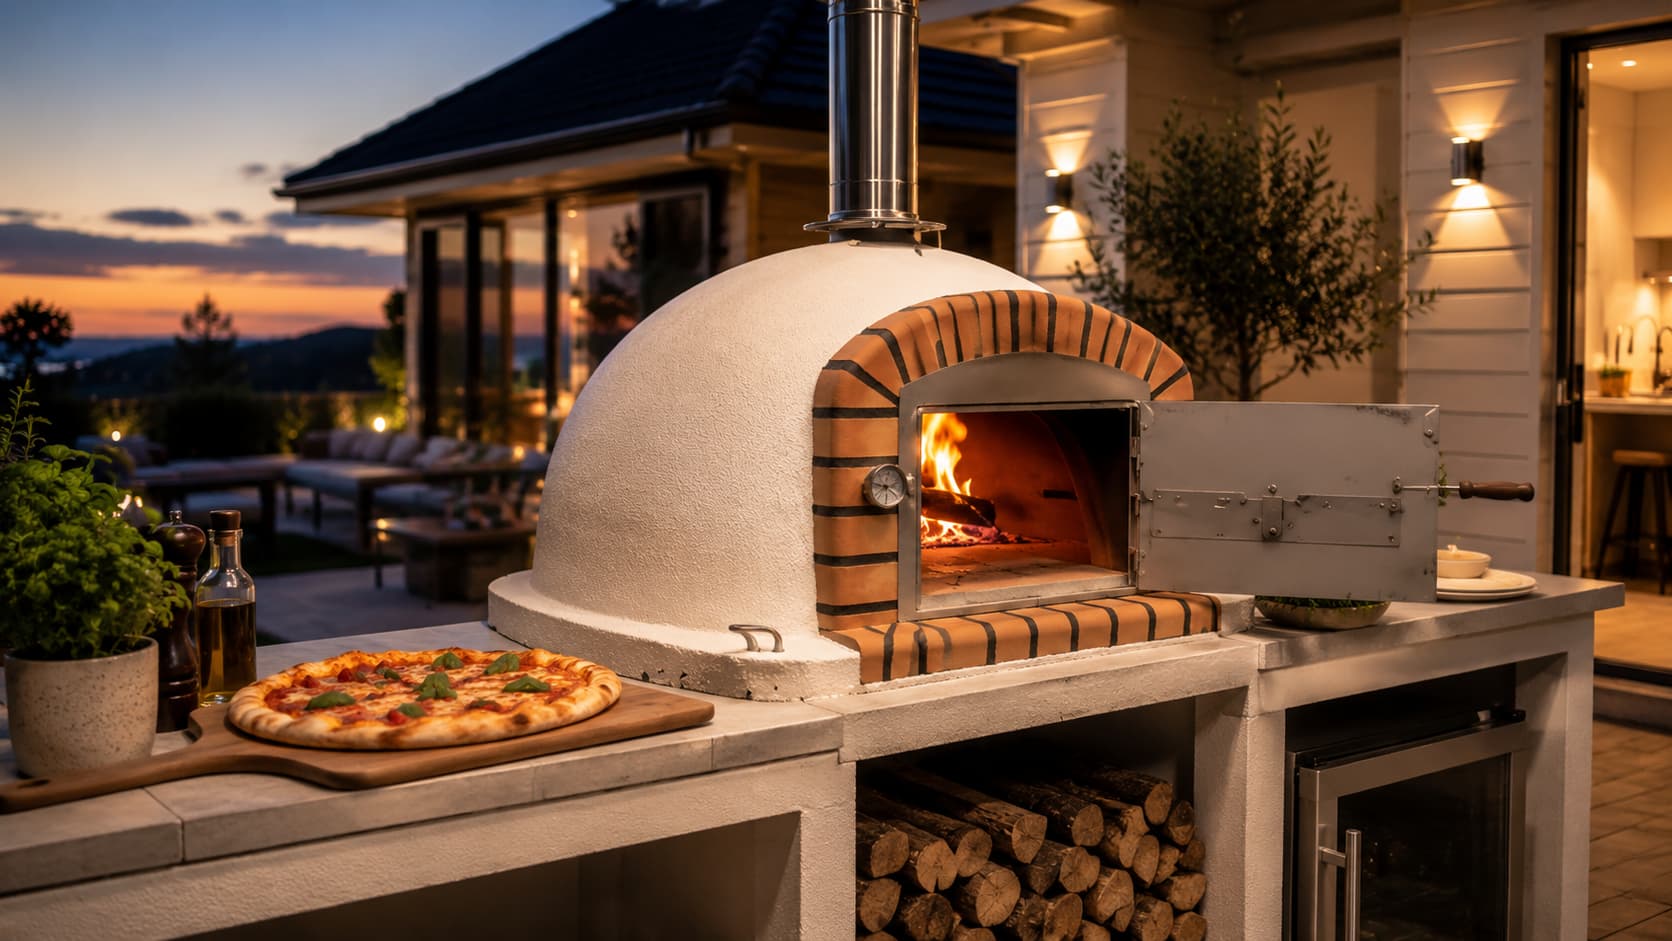
Outdoor wood-fired oven with pizza on a preparation bench
Outdoor-kitchen integration
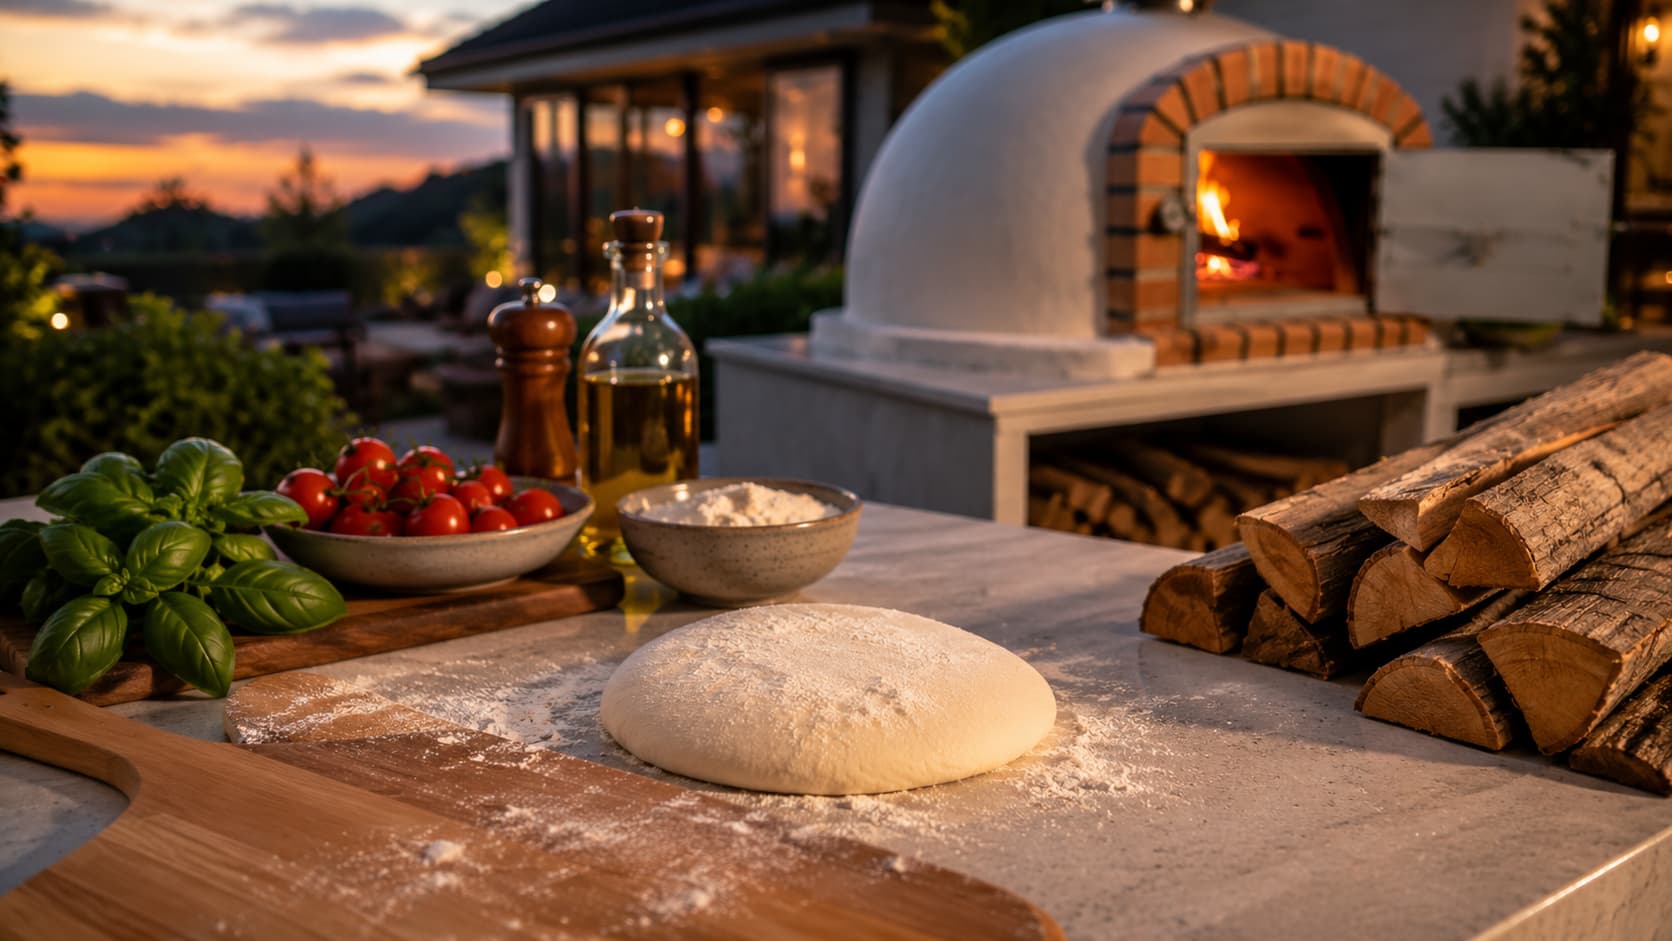
Pizza dough, ingredients and firewood arranged beside a wood-fired oven
Prepare dough, ingredients and fuel before cooking
Friends dining beside a lit outdoor wood-fired oven
Outdoor entertaining around the oven
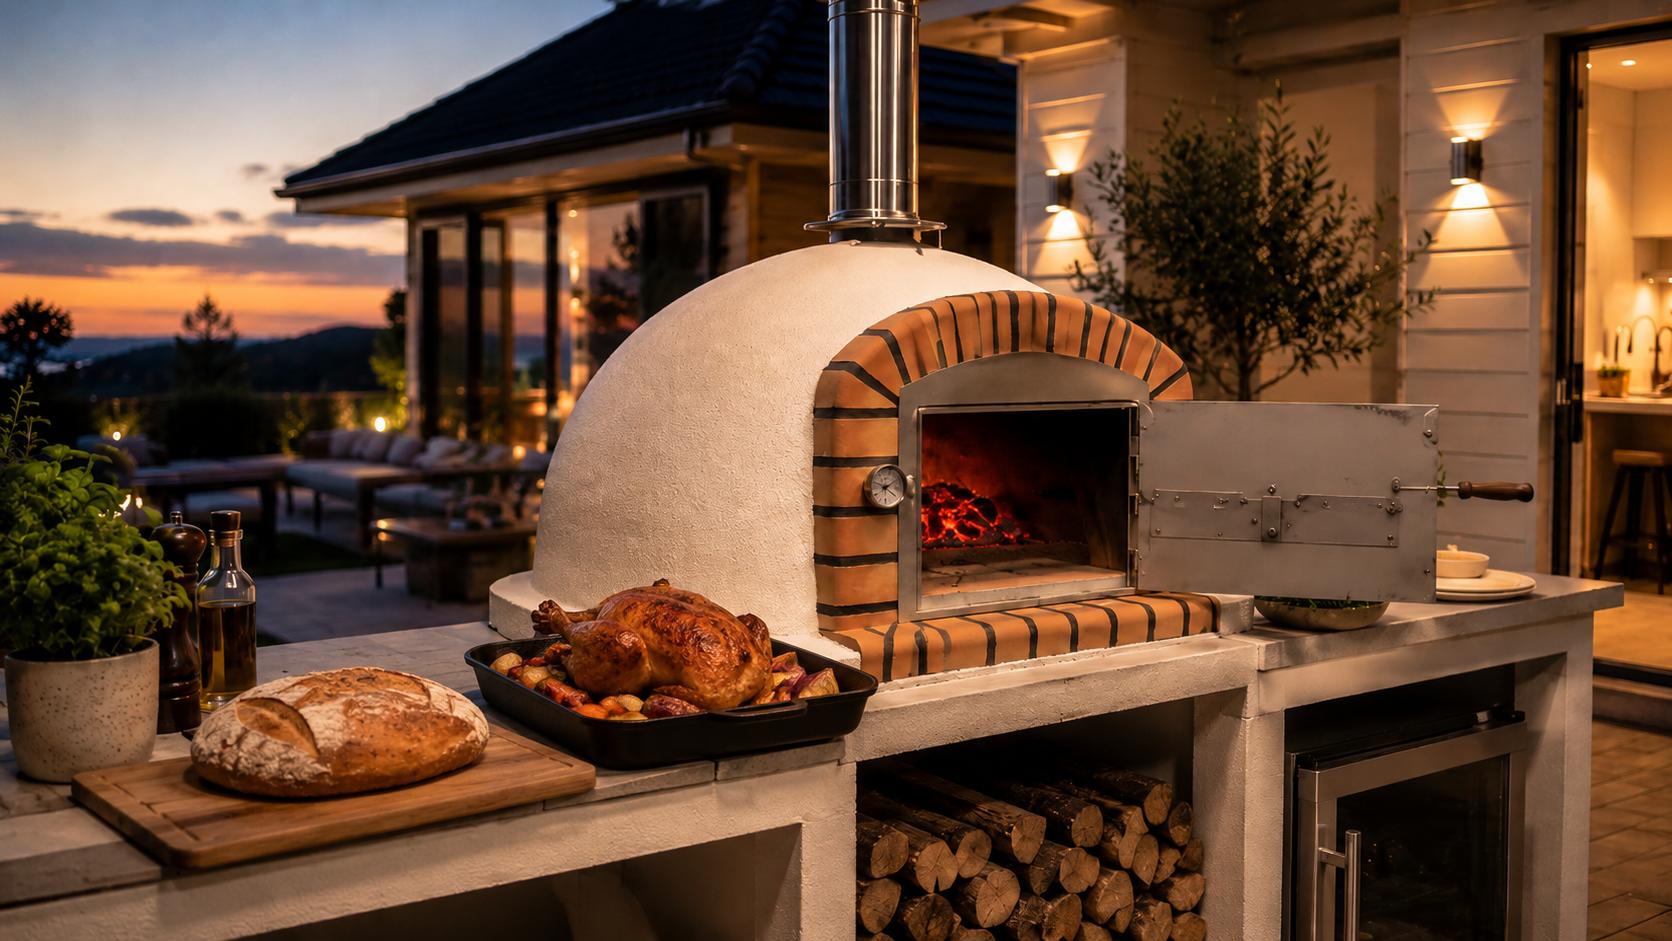
Wood-fired oven with bread and roast chicken prepared beside it
Use the heat cycle beyond pizza
Wood-fired pizza oven in a covered outdoor entertaining space at dusk
Covered outdoor-room concept · flue and clearances remain project-specific
Close view of wood-fired pizza oven with a freshly cooked pizza
High-heat pizza cooking
Cook removing pizza from a wood-fired oven while a guest watches
Launch, turn and remove with long-handled tools
Wood-fired oven installed in a landscaped outdoor dining area
Wood-fired cooking as part of an outdoor entertaining space

Project fit

The guide follows the full first-owner workflow.

Cure before normal cooking

A new refractory or masonry oven can retain moisture. The guide uses staged low fires over three days and says to follow any different curing instructions supplied with the exact model.

Build a controllable fire

Start small, warm the chimney, add split wood gradually and move the established fire towards the back or one side to create a clear cooking zone.

Read both chamber and floor heat

A built-in thermometer indicates general chamber temperature; an infrared thermometer checks the cooking floor, which can lag behind the dome or cool after several pizzas.

Launch only when the pizza moves

Use a dry peel with a light dusting of flour or semolina, top lightly, test that the uncooked pizza slides freely, then launch without delay.

Cook beyond pizza

As heat falls, move into roasted vegetables, meat and poultry, bread and focaccia, cast-iron dishes, slow roasts and desserts.

Shut down naturally

Stop adding fuel, allow the fire to burn down, keep the area supervised, never use water to cool the oven, and remove ash only when fully cold.

Dry a wet oven slowly

If the oven has absorbed moisture, begin the next firing with a very weak drying fire rather than taking it directly to normal pizza temperature.

Use model instructions first

The customer booklet is a general cooking guide. Installation, curing, operating, maintenance and safety instructions for the selected oven remain the primary reference.

Common applications
First-time oven ownersPizza nightsOutdoor kitchensBread + focacciaRoastingCast-iron cookingRetained-heat cookingHospitality training

Need the right configuration?

Send us your dimensions, site details or intended use.

Start Smart Quote