
Apollo NZ GlobalStart Smart Quote

Velaris V7.3 / V8 · installer resource

Measure the opening properly. Install the system square.

A practical guide for the purchaser's chosen local installer, builder or project team covering reveal fit, face fit, measuring, cassette and guide alignment, commissioning, handover and maintenance.

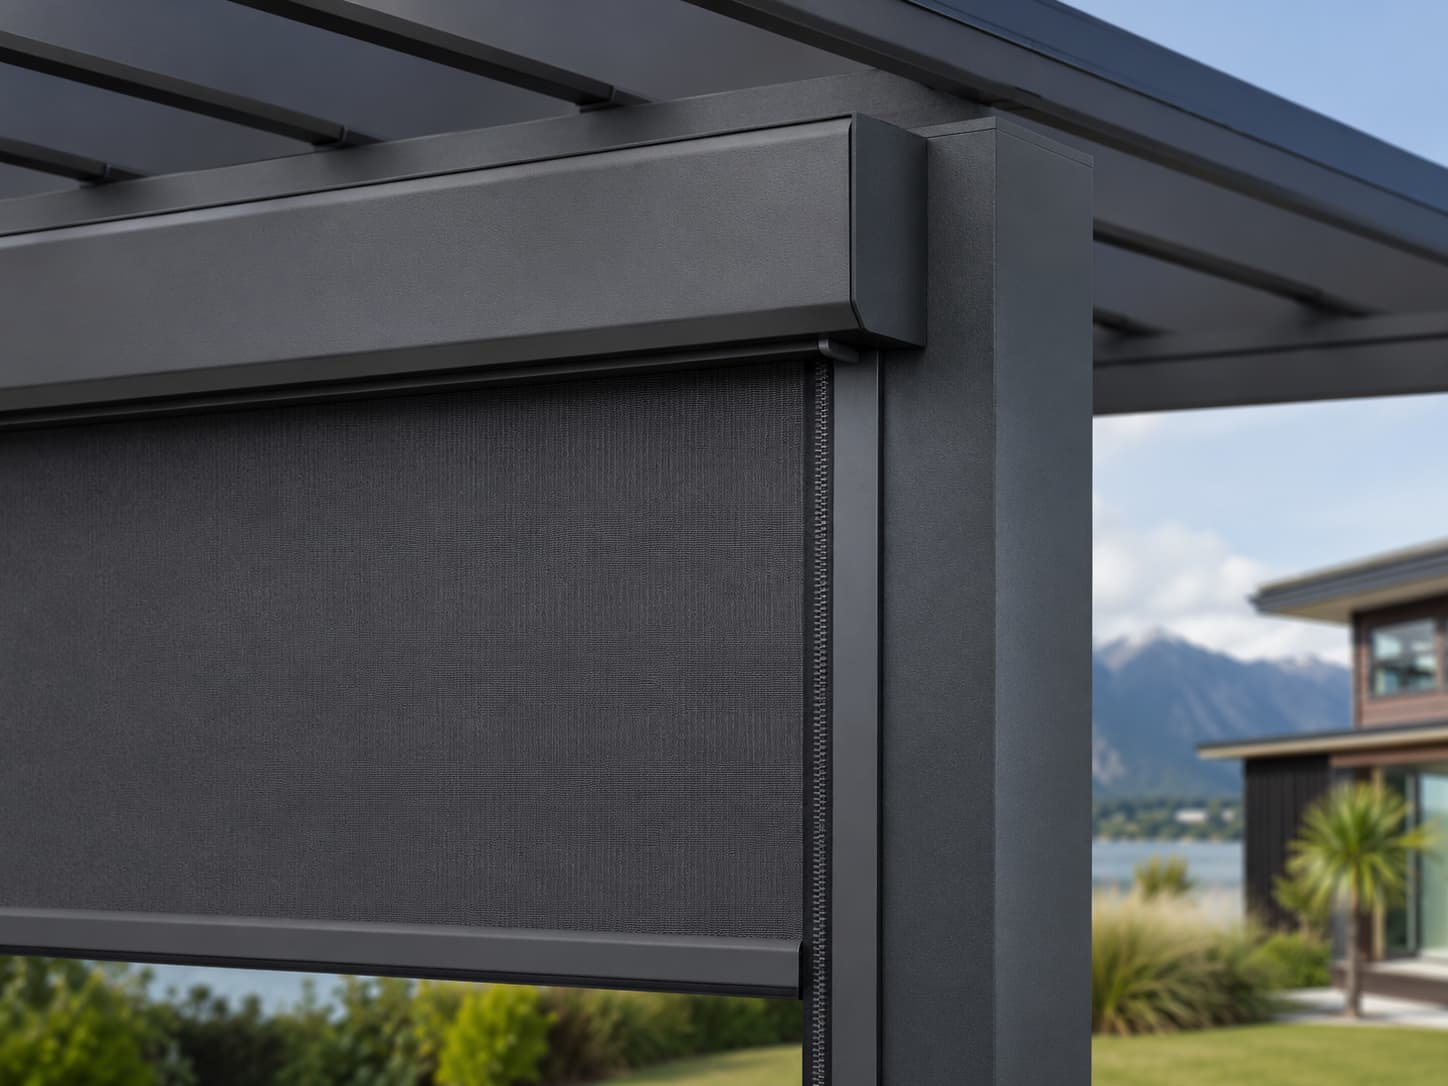
Close detail of a Velaris outdoor blind cassette, side guide and bottom rail integrated into an outdoor structure
Supply-only installation resource

Apollo NZ Global supplies the product and supporting product information. Site measurement, structural adequacy, fastener selection, local installation, electrical work and destination compliance remain with the purchaser's project team. Project-specific documentation takes precedence over this general guide.

01 · Fit type

Reveal / inside fit or face / outside fit?

Inside / reveal fit

Hardware sits within the opening.

Use where the reveal is deep enough and the head and side fixing surfaces are straight, continuous and structurally suitable. Measure clear width at top, middle and bottom, clear drop at left, centre and right, and both diagonals.

  • Clean integrated appearance
  • Opening squareness matters
  • Reveal depth must suit the selected hardware
  • Do not assume a deduction
Outside / face fit

Hardware mounts to the face around the opening.

Useful where the reveal is shallow, tapered or obstructed. Measure the clear opening first, then establish the intended top and side coverage while confirming suitable fixing faces and clearances.

  • Allows deliberate coverage around the opening
  • Check fascia, gutters, door heads and projections
  • Both side fixing faces must be usable top-to-bottom
  • Confirm the finished bottom-rail position

02 · Measuring

Three widths. Three drops. Two diagonals.

01

Choose the fit type first

Record reveal / inside fit or face / outside fit before taking dimensions.

02

Measure three widths

Record the opening at top, middle and bottom between the exact reference surfaces.

03

Measure three drops

Record left, centre and right from the cassette reference line to the intended lower position.

04

Check both diagonals

A difference between diagonals shows that the opening is not square and needs to be allowed for in the installation plane.

05

Record fixing zones

Note the substrate at the head and both sides, plus reveal depth or available face-fixing width.

06

Do not self-deduct

Submit the raw site measurements. Use only the confirmed project/order method for any manufacturing deduction.

Ordering rule: record the raw opening dimensions and photographs first. Do not create a manufacturing size by applying a remembered deduction from another blind or another project.

03 · Installation

Alignment matters more than force.

The cassette should be level. The guides should be plumb, parallel and in the same plane. If a tapered or bowed substrate needs correction, use the installer-approved packing/fixing strategy rather than pulling the product out of shape.

01

Verify

Check the opening, order, product model, fabric, controls, motor side and supplied components before drilling.

02

Set the cassette

Lift safely, establish the approved reference line and secure the cassette level without twisting it to suit an uneven wall.

03

Set the guides

Install the side guides plumb, parallel and in the same plane. Pack uneven substrates rather than distorting the guides.

04

Engage the screen

Keep the fabric clean and supported. If the guided edge resists, stop and recheck alignment rather than forcing it.

05

Connect controls

Complete the ordered manual, motorised or hybrid pathway. Mains electrical work must follow local requirements.

06

Commission

Start with short controlled movement, then complete full cycles and verify bottom-rail seating, tracking and controls.

04 · Fixings + electrical

Project-specific where it matters.

Concrete, masonry, structural steel, aluminium posts and timber framing require different fastening solutions. This guide intentionally does not publish a universal fastener diameter, embedment depth or fixing centre.

Motor side, cable route, isolation and control hardware should be confirmed before the cassette is fixed. Where required by local law, mains electrical work must be completed by a suitably qualified person.

05 · Commissioning + handover

Prove the system before handing it over.

Cassette levelGuides plumb and parallelGuide spacing checked at several heightsScreen edge runs cleanlyBottom rail seats evenlyManual/motor operation checkedMotor limits set to supplied procedureRemotes / wall controls testedSmart controls / sensors tested where suppliedMinimum three clean full cyclesTracks cleaned and swarf removedCare and severe-weather instructions handed over

06 · Ownership

Keep the tracks clean and use the blind for the job it was designed to do.

Routine care

Keep guides free of leaves, grit and insects. Clean the fabric with methods compatible with the supplied material and avoid aggressive solvents or abrasive tools.

Coastal sites

Salt and humidity require more frequent fresh-water rinsing and inspection of finished and moving components.

Severe weather

Retract before forecast high winds or airborne-debris risk unless written project-specific operating instructions explicitly state otherwise. Velaris is not a structural wall or storm shutter.

Installer pack

Use the PDF on site.

The downloadable guide also contains the model reference table, troubleshooting page, printable opening-measurement record and installer completion sheet.