Manual / hybrid
Use only where the confirmed Velaris configuration includes manual or backup operation. Backup operation is not a way to force a mechanical fault.
 Start Smart Quote
Velaris V7.3 / V8 · controls + commissioning resource
A practical global guide to motorised, manual, hybrid, remote, wall-control, smart-control and weather-sensor pathways where supplied with the confirmed Velaris configuration.
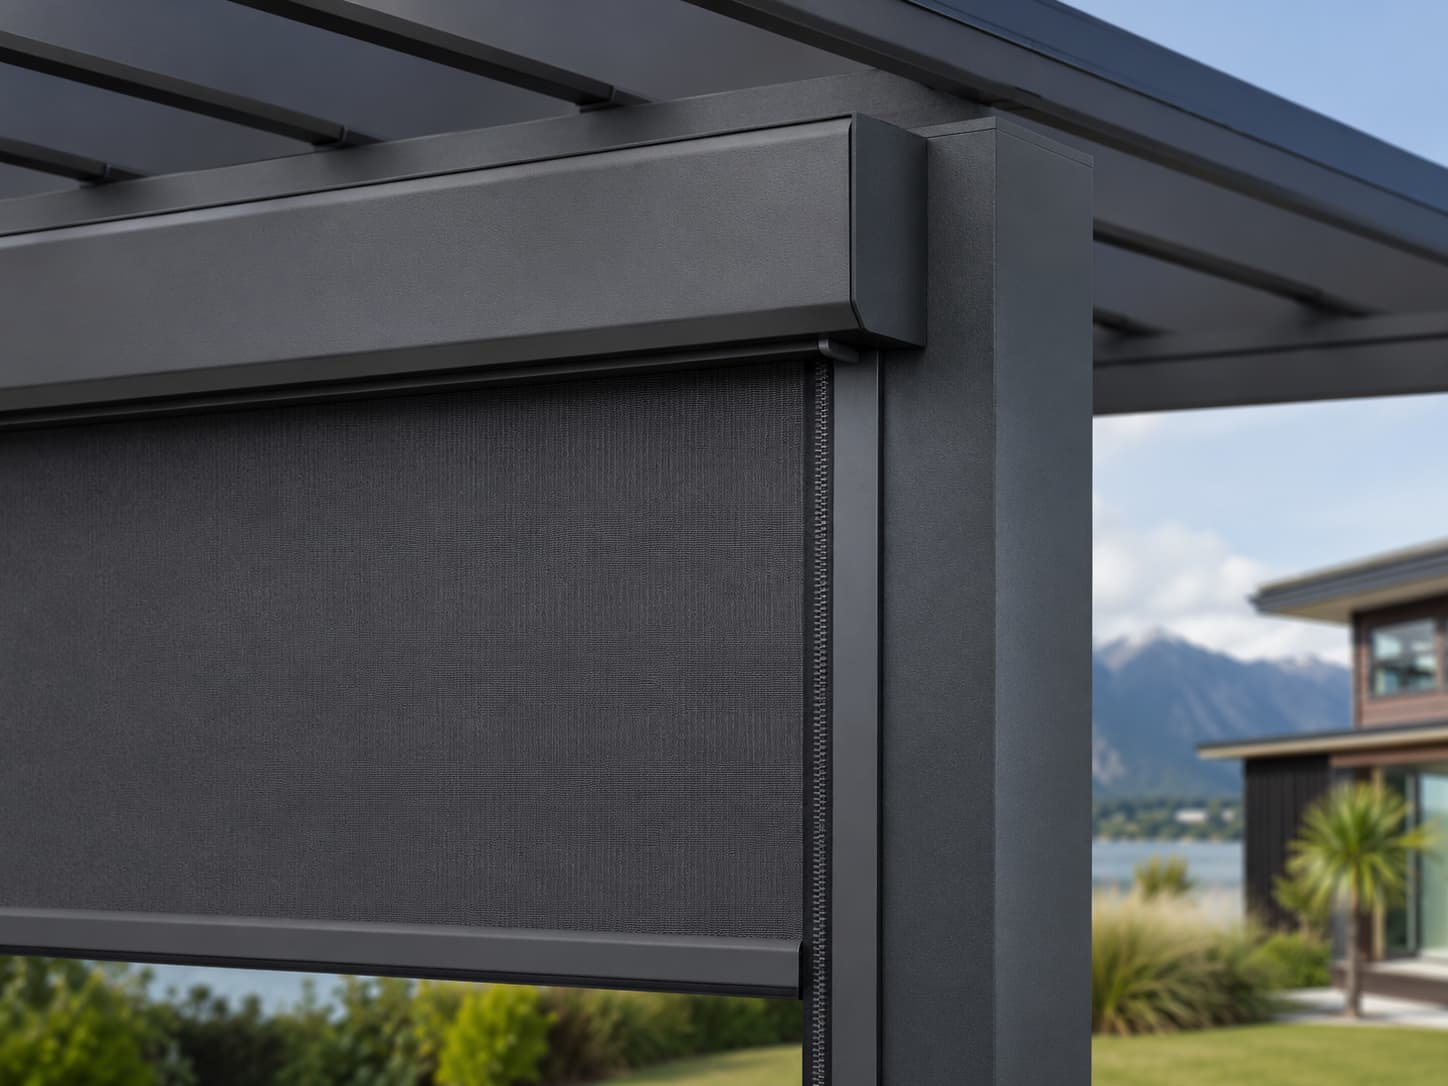
Apollo NZ Global supplies the product and supporting technical information. Installation, electrical connection, commissioning and customer handover remain the responsibility of the purchaser's chosen installer, project team and appropriately qualified trades. Project-specific documentation takes precedence over this general guide.
01 · Control pathways
Use only where the confirmed Velaris configuration includes manual or backup operation. Backup operation is not a way to force a mechanical fault.
Tubular-motor operation through the supplied control hardware. Direction, limits and control logic are confirmed during local commissioning.
OPEN / STOP / CLOSE operation, with channel or group behaviour where the supplied hardware supports it.
Selected systems can use a compatible Tuya or other supplied smart-control pathway. Compatibility depends on the exact motor, receiver and control module.
02 · First power-up
Mechanical installation comes first. Before full travel, confirm the cassette is secure, both guides are aligned, the screen is engaged correctly, the bottom rail is unobstructed and the travel zone is clear. Apply power, make a short observed movement, stop and inspect, then confirm direction before full travel.
03 · Remote + wall controls
Use OPEN / UP to retract, STOP to halt movement and CLOSE / DOWN to deploy. Confirm the correct channel where a multi-channel remote is supplied.
Confirm the installed switch or controller type and keep it accessible where the travel zone can be assessed safely.
Commission each blind individually before relying on a group command. Do not group-operate a blind that is obstructed, isolated or under service.
If the remote, wall control or travel behaviour changes, stop repeated resets and identify the exact supplied control hardware first.
04 · Limits + direction
OPEN / UP and CLOSE / DOWN should produce the expected movement. If direction is reversed, identify the exact motor, receiver and control family and use only the current supplied correction process.
Upper and lower limits are motor-specific. Do not publish or use generic button sequences, wire assumptions or remembered programming procedures from another motor family.
05 · Smart control
Selected Velaris configurations may use a Tuya-compatible or other supplied smart-control pathway. Complete normal motor commissioning first, confirm the compatible module, follow the supplied network and pairing process, give blinds clear names, test OPEN / STOP / CLOSE while observing the blind, then explain device ownership and reconnection basics to the customer.
Automation rule: do not create schedules or scenes that conflict with weather-sensor responses or move the blind when the travel zone cannot be assessed safely.
06 · Weather sensors
Where supplied, test the configured response through the approved process. A wind sensor does not establish a universal safe wind speed and does not make Velaris storm-rated.
Where supplied, keep the sensing surface clean and explain the expected automatic response. Rain sensing does not make mesh waterproof.
Owners and staff need to understand why a blind can move without a button press. Avoid conflicting automation and keep the movement zone clear.
07 · Troubleshooting
Velaris resource library
The full controls guide includes eight premium technical plates, the local installer commissioning record, the customer handover record and an owner quick-reference card.