AI Sports Camera Mounting: Height, Position and Coverage Before You Install
A good sports camera can only work with the view it is given. Mounting position should be planned around the playing area, obstruction-free sightlines, service access and the connection pathway before brackets or cabling are fixed in place.
Apollo NZ Global EditorialPublished 2026-09-08Practical project guide
Planning guidance — final product and site requirements are confirmed per project.
01
Start with the complete playing area
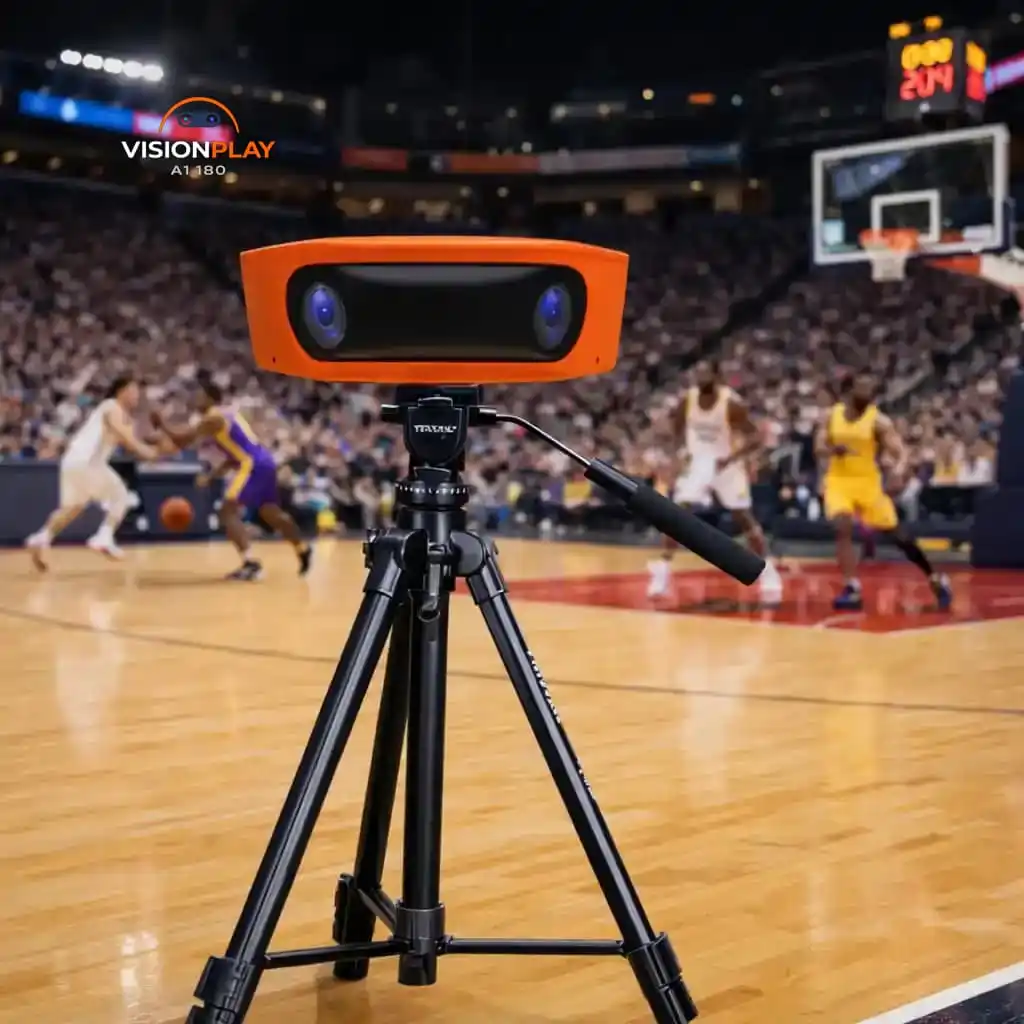
The VisionPlay AI 180 uses a wide panoramic field of view, so the camera should be positioned where the whole activity area can be seen without nearby posts, roofs or spectator structures blocking key zones. A central or otherwise balanced view is usually more useful than simply choosing the closest mounting point.
02
Use mounting height deliberately
The current product guidance recommends mounting up to approximately five metres. The final height should still be checked against the sport, available structure, safe service access and the desired viewing perspective.
03
Plan power and connectivity at the same time
Wi-Fi 6, RJ45 and battery operation provide several connection pathways, but the most reliable project still considers network quality and charging or power access before installation. A perfect camera position is less useful if the local connection cannot support the intended workflow.
04
Test the view before making the mount permanent
Where possible, check the actual framed view from the proposed position before final installation. Small changes in angle or height can materially affect how well the full court, field or scoring area is captured.